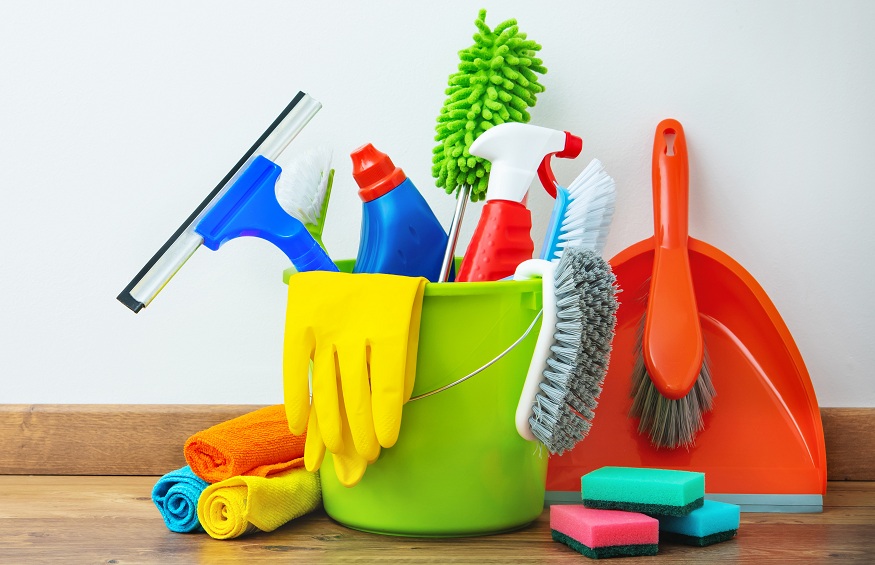
A house cleaning guide can be particularly useful when you want to thoroughly clean the house.
In fact, deep cleaning is necessary on a regular basis, on average monthly, to take care of small household tasks that are impossible to carry out on a daily basis, especially if you have a busy life.
Even the best-maintained homes need a good deep cleaning from time to time, which allows you to find a living interior that exudes well-being.
To avoid cleaning your house while being overwhelmed by the workload, the essential approach is to divide the process into small tasks that are easy and quick to complete.
In our home cleaning guide, you will have six basic tasks to start with, followed by a few specific tasks specific to each room.
By following this guide to the letter (which also works for spring cleaning), you will have a clean and tidy home where you will enjoy relaxing.
How to clean your house thoroughly?
To clean your house from top to bottom, you will first need to carry out 6 basic tasks throughout the house, before tackling a deep clean in each room.
1. Declutter
Open all your cupboards, cabinets and other storage spaces and identify any items you no longer really use and get rid of them.
For the remaining objects, optimize their storage so that you have them within reach and where you expected them to be.
At the end of this step, your interior should already breathe much better, because everything, absolutely everything in the house should not stick out, and will be neatly stored in the right place.
2. Clean the walls and ceilings
Walls and especially ceilings are large surfaces that are difficult to access and yet they must also be cleaned, especially if they tend to attract dust. In doing so, it will also be a question of cleaning all the decorative objects or lighting fixtures there (paintings, ceiling lights, chandeliers, light bulbs, etc.).
With a microfiber mop or a duster with a telescopic handle you should be equipped to tackle your wall and ceiling cleaning without difficulty.
Work from the top to the bottom, in this order: ceiling, ceiling trim, ceiling lights (including bulbs), walls, remaining trim, and baseboards.
On the other hand, since surfaces close to the ground tend to accumulate dirt and dust more easily, do not hesitate to soak your mop in a solution of lukewarm water mixed with a drop of dishwashing liquid.
For the bathroom and other damp rooms prone to mold , add a little white vinegar to the mixture. This will make it easier to remove and delay the moment when it reforms (but remember to ventilate as much as possible, it remains the best remedy).
Obviously, no matter how dirty your home is, you need to rinse and wring your mop regularly for effective cleaning.
3. Wipe the windows
To clean your windows effectively, nothing could be simpler.
Vacuum the sills and rails, then spray the windows up and down with a dedicated cleaner. Let the product do its job for a minute, then scrape it off.
Tip: It is not recommended to clean windows in direct sunlight. Find the time of day when there is the least sun to do this.
If sun is unavoidable, then speed up the cleaning process. As soon as the cleaner is sprayed on the window, it must be scraped off, otherwise it will dry and leave marks all over the surface.
apartment windows household house products gestures disorder place costs google toilets service water purposes people habits task
4. Take care of the blinds & curtains
If you have blinds as window treatments, vacuum each slat without necessarily taking them apart.
As for the curtains, once removed, you can put them directly in the dryer, without even washing them. The action of the dryer will loosen all the dust and you will find curtains ready to be hung.
Of course, depending on how dirty your curtains are, it may be necessary to put them in the washing machine, after which you will have to iron your curtains before putting them back in place.
During this entire machine curtain cleaning process, take the opportunity to wipe the rod and rings.
5. Dust furniture & shelves
Now is the time to wipe a duster or microfiber cloth over any remaining hard surfaces (wooden furniture, shelves, built-ins, etc.).
For super-quick cleaning, place a clean sock over your dominant hand to dust surfaces, moving objects with the other hand. Finally, grab a lint roller for the lampshades.
6. Vacuum and mop the floors
To do this properly, you will need to move furniture, even larger pieces like beds and sofas. Failing that, equip yourself with a mop capable of slipping into hard-to-reach places.

