
You should prepare your house for painting if you want good, smooth, and long-lasting results. From cleaning the surfaces to choosing the proper paint, every step brings you closer to completing the project. Through a planned process of preparation, you increase the lifespan and visual appeal of the house’s exterior. Learn about the main steps in preparing your house for painting that will bring about a tremendous transformation, add curb appeal, and secure your investment.
Steps You Should Know to Prepare Your House for Exterior Painting
1. Plan It During Good Weather
If you plan to paint over the weekend, remember that the best exterior paint jobs require at least three consecutive weekends of good weather. In cases of uncertain rain or high humidity, make allowances. Play it safe and budget one month for your project during the dry season, when temperatures are between 50 to 80 degrees Fahrenheit.
2. Prepare and Clean the Area
Cleaning is a must when you prepare your home for painting. Move all trash cans, grills, patio furniture, and anything else leaning near or against your house’s outside walls as far out from the wall faces as possible. Square off outlet boxes and fittings with painter’s tape, and then cover and tape them off with drop cloths.
3. Wash Exterior
After moving is done, you need a proper cleaning of your exterior. It helps to adhere to the paint properly. Simply hose off and scrub with a brush, or use a pressure washer with a cleaning solution added if there is not that much flaking or peeling paint.
4. Test for Lead-based Paints
If your paint is lead-based, it is harmful to your family and friends. Test the paint before the exterior painters use it. You can also get many lead-testing kits online.
5. Sand the Exterior
A smooth surface is necessary for the patient to adhere properly. To get that, you need to sand your house with 80-grit sandpaper. You can also speed up with an orbit sander or 120-grit paper.
6. Caulk Gaps
After sanding, replace siding or trim that you cannot save. You may replace damaged wood or holes in decaying wood by filling it with epoxy. Use exterior caulk in a caulk gun to fill any gaps around doors, windows, and trim.
7. Prime Stains and Bare Spots
You can prime any stains or exposed areas with a stain-blocking primer. Use an angled brush and apply primer to the area. The primer will soak into the area and seal it so that the paint sticks to the surface.
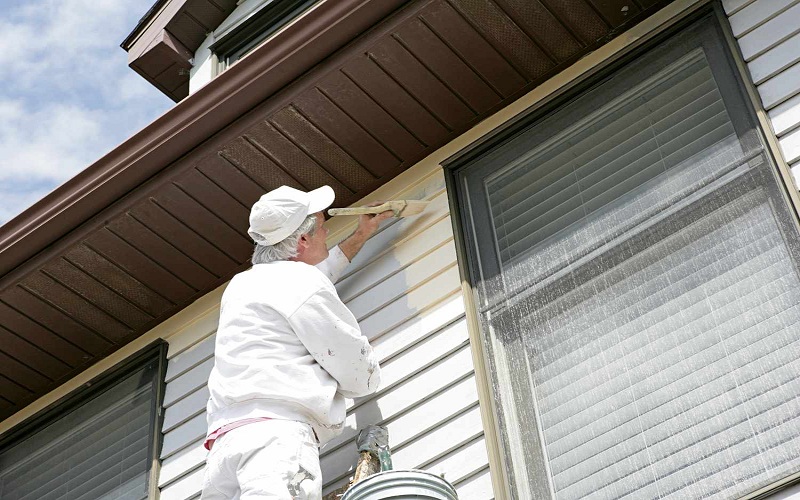
8. It’s Time to Paint
Give your home some shine with a fresh coat of paint. Cover the areas you do not wish to paint, including the mailbox, lighting fixtures, doors, and trims, with plastic sheeting and painter’s tape. Fill your sprayer with your choice of eggshell latex or flat paint. From top to bottom, one or two coats may be necessary, as needed, over the entire home.
End Notes
Getting your house properly cleaned and repaired before you start painting the exterior is what will make it finish properly. This crucial finishing ensured durability. To do it right, trust in cleaning and repairs, and for good measure, invest in quality materials that will keep your house looking good and well-protected for a long time.